How To Install Spindles
In this tutorial, we’ll be showing you how to install spindles. We are working with the 3 x 3 Vintage Spindle, but the process should remain the same no matter the style or size of your spindles. Don’t forget to check out our size chart and refresh yourself on a spindle’s actual size vs nominal size.
View our installation video below, or continue reading for spindle installation instructions.
Supplies Needed
2-1/2-Inch Flat Head Square Drive Deck Screws
Amount: 9
3 x 3 Spindles
Amount: 12
2 x 4 Handrails
Amount: 2
Lattice Strip
Amount: 1
Tools Needed
Miter Saw
Cordless Screwdriver
16/18 Gauge Nailer/Stapler
Finish Nails
Handrail Bucket
Cut the Handrail
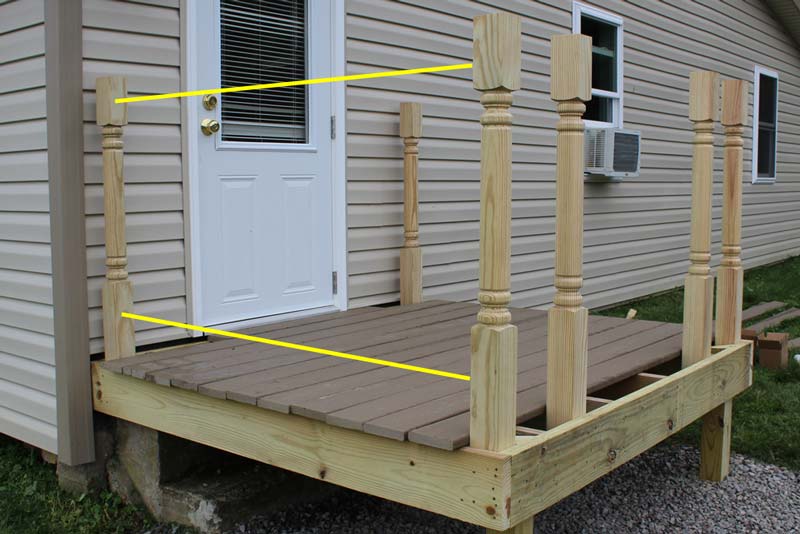
The first step is to measure in between the posts to get the handrail measurement. Rarely will you find that your measurements are exactly the same on the top and bottom because of your post not being precisely plumb.
In most cases, you still want to cut the top and bottom handrails exactly the same. Cut the handrail sections to the proper measurement.
Determine Spacing
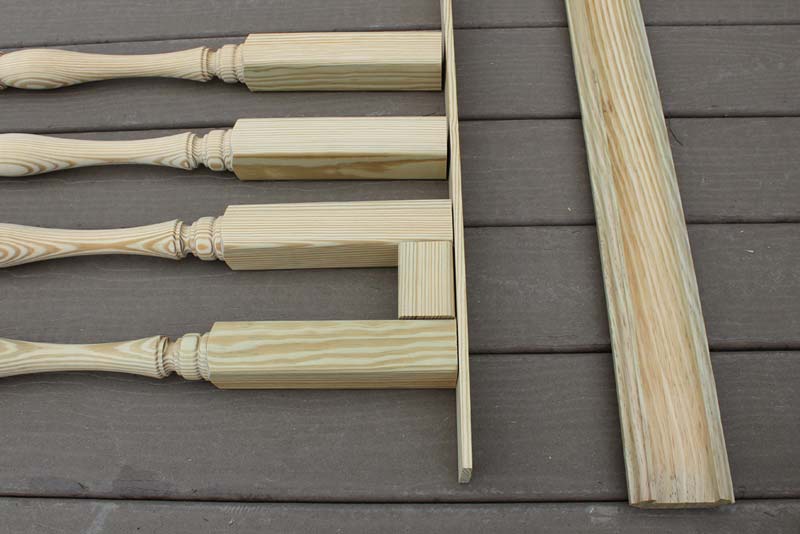
The next step is to determine how far apart you should place your spindles. Depending on your local building codes, you may be required to meet a maximum space between the spindles. Check with your local township or borough if you’re unsure of the requirements. In most cases, the gaps between the spindles should not be greater than 4 inches.
We recommend the “block spacer” method. For this method, cut a block to the length of the correct space between spindles, and use that as a guide. For this project, the block was 2-15/16”. For good measure, space all the spindles using the block and make sure both ends are equal. Do this before you fasten any of the spindles.
Selecting Your Tools
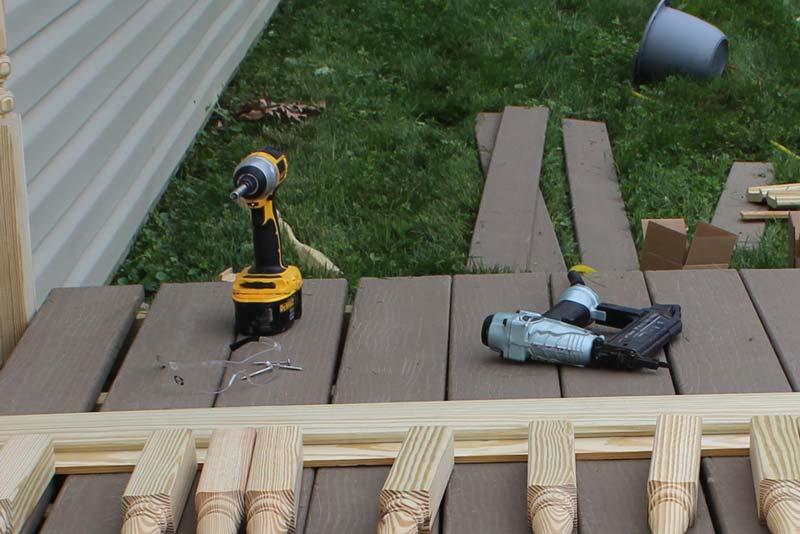
We advise using a finish nailer to assemble the rail sections, as it tends to be easier and a lot more precise. However, it is best to still use a screw in addition to the nails.
Understanding the Handrail Grooves and Lattice Strip
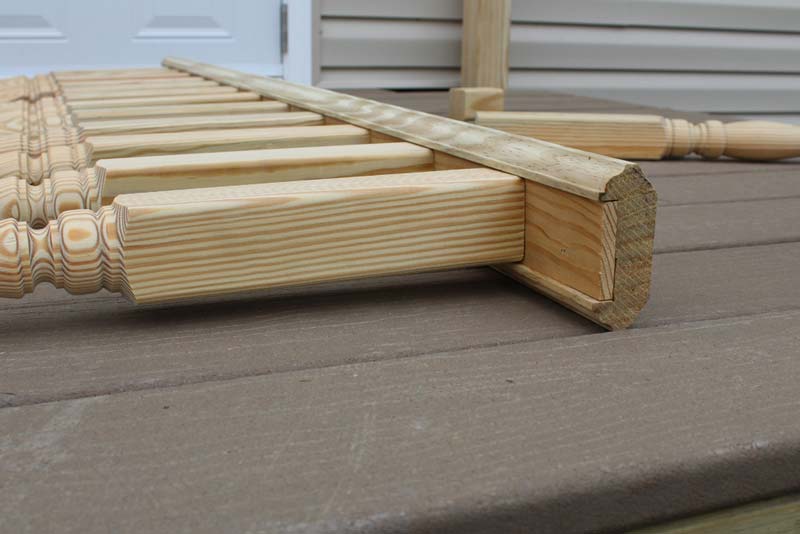
Utilizing this system eliminates the screw or nail exposed on the top of the handrail, producing a beautiful finish. On the bottom, we suggest installing the handrail with the groove facing down.
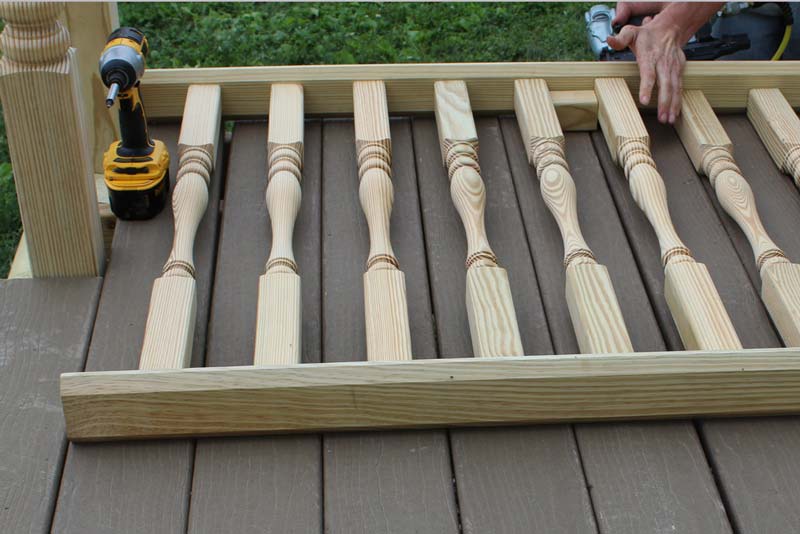
Building the Rail Section
Now it’s time to start building the rail section. The process should go something like this:
Staple the top lattice strip to the spindles.
Add a screw to every spindle.
Staple or screw the new section to the top handrail. Staples alone are sufficient here. Be sure to use short staples or drive them in at an angle so they won’t poke through the top of the handrail.
Repeat step 1 and 2 for the bottom handrail. Note that you don’t need a lattice strip for the bottom.
Installing the New Rail Section to the Deck Post
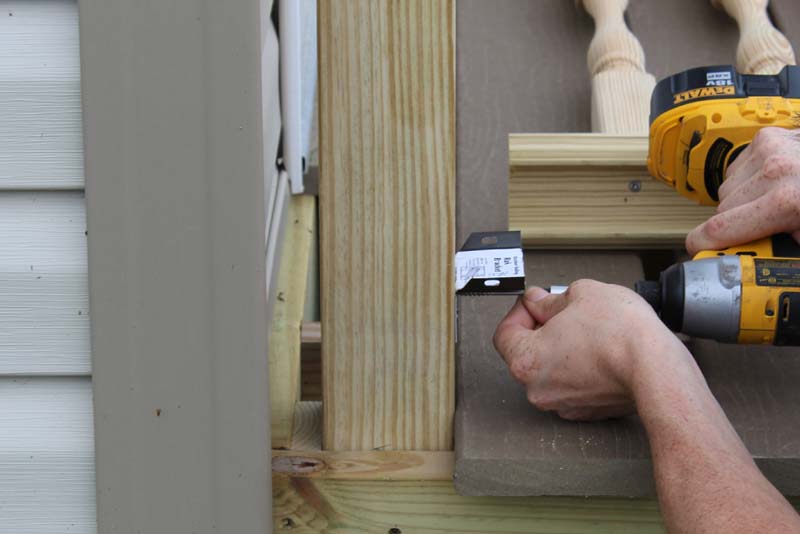
The last step is to install the new rail section to the deck post itself. An easy way to do this step is by using handrail brackets, which you can purchase at most hardware stores.
Another method is to toe-screw the handrails to the post. It’s good practice to pre-drill your screw holes if you are going this route.
Yet another method is using an end board.
Don’t hesitate to contact us with any additional questions about spindle installation.
Helpful Resources
Browse through our most popular how-to guides and other resources.

How-To Guides
We have many short Do It Yourself articles on all of our products. For example, if you are looking for advice on working with our spindles, click here.

Baluster Calculator
Easily determine the perfect space between railing spindles and figure out how many you'll need with our convenient baluster calculator.

Shipping Info
All of our products can be shipped directly to you. Most of our items ship within 3 days. Delivery cost will appear as you add items to your shopping cart.
